Import from Flickr to Piwigo
Plugin Flickr2Piwigo lets you import your albums (sets) and photos from Flickr, directly into your Piwigo gallery. Here is the procedure to follow.
1) activate plugin Flickr2Piwigo
2) open page [Administration > menu Plugins > sub-menu Flickr2Piwigo > tab Configuration]. We’re going to follow the steps described on this page.
3) click on the flickr.com link and login to your Flickr account
4) from the Flickr2Piwigo configuration page, click on the “API keys page” link, click on the “Get another key” button, and click on the “Apply for a non-commercial key” button
5) describe your application (name, description, checkboxes) and submit
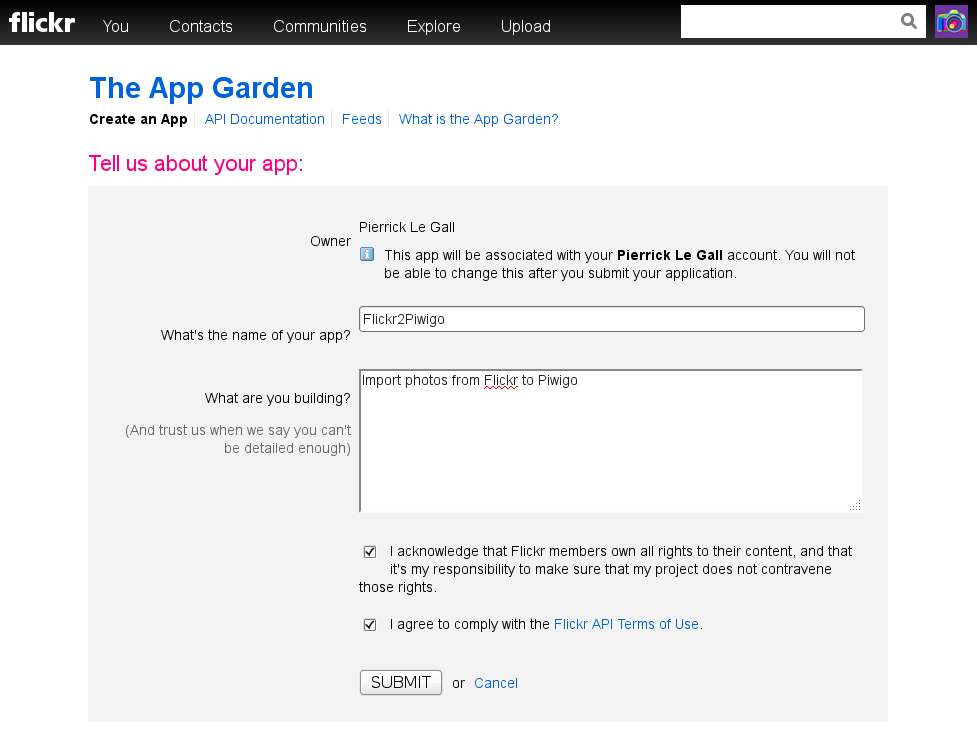
Create an app in Flickr
6) get your Key and Secret and copy them into Flickr2Piwigo configuration page
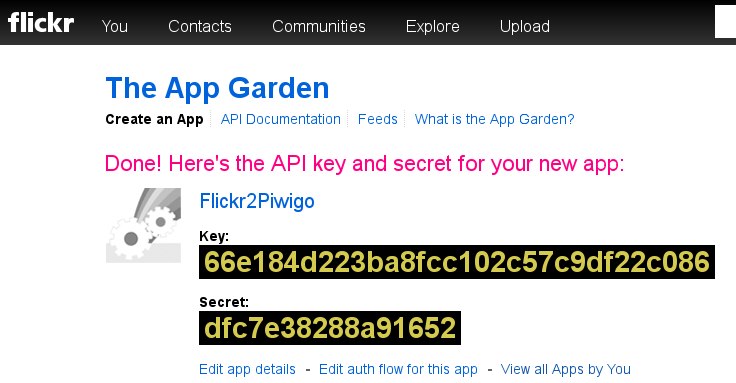
Get your app keys on Flickr…
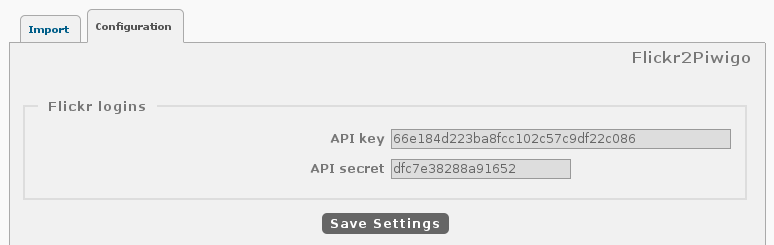
… and copy Key/Secret on Piwigo
7) on the Flickr page, click on the “Edit auth flow for this app” link and copy your Callback URL, provided on Flickr2Piwigo configuration page.
8) back to Piwigo, go to the “Import” tab of Flickr2Piwigo and click on the “Login” button
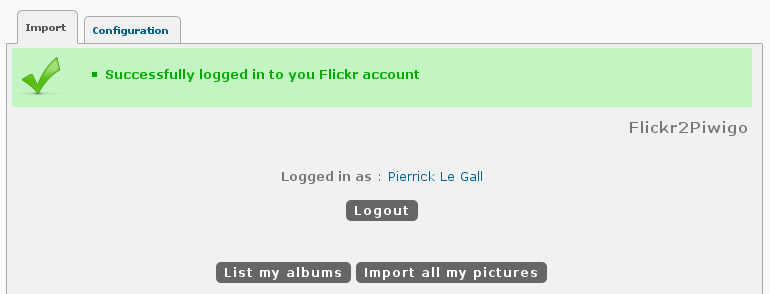
Flickr2Piwigo login
9) Import your photos. You can select photos with a specific batch manager or you can import your whole Flickr structure.
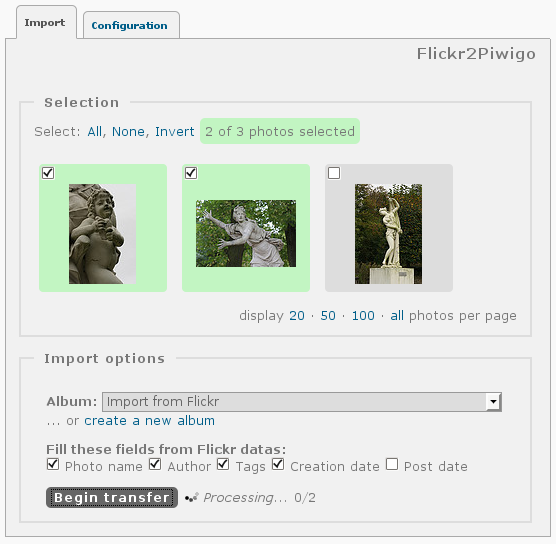
Flickr2Piwigo select photos and start import